1.1 ton portable jib crane Installation of columns
Insert the columns into the inner ring of the base plate, weld and fix the base plate and columns to both sides of the base plate, and then weld several ribs on the base plate and columns to complete the installation of the base plate.
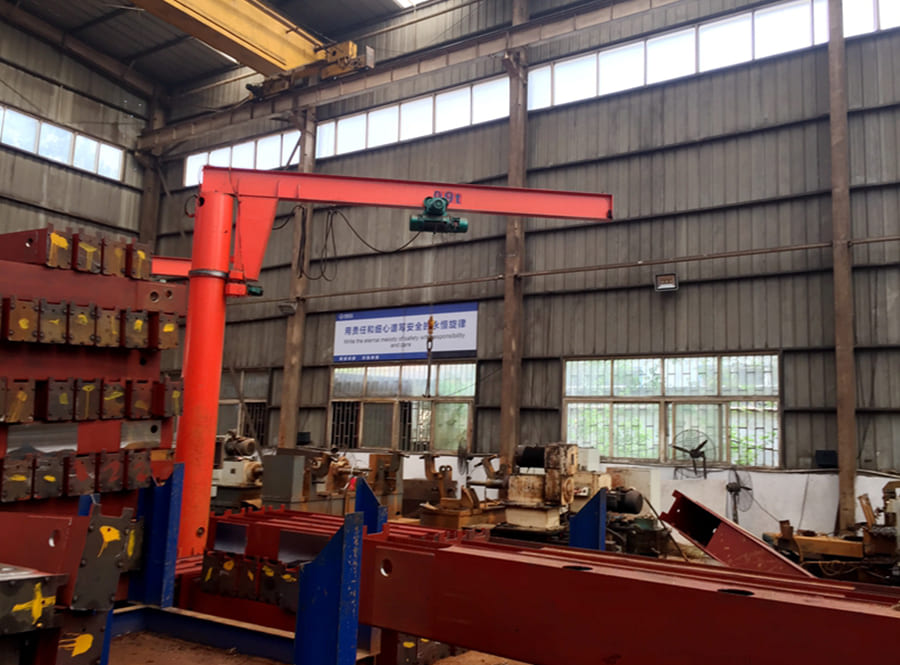
2. Installation of end plates and waist rails
First adjust the position of the sevencrane 1 ton portable jib crane for sale rotating shaft and the end plate, and then weld and fix it to ensure the verticality of the rotating shaft.
. Then put the end plate into the column and weld and fix it with the column according to the drawing size. Insert the waist ring track into the column, adjust the corresponding position according to the drawing size, and then weld and fix it with the column to complete the installation.
3.Industrial 1 ton portable jib crane price Installation of rotary sleeve
Weld and fix the bearing seat through the connecting plate according to the drawing size
And the rotating cylinder, press in the spherical roller bearing, and then use the bearing pressure plate to seal the left side of the rotating sleeve. The sealing plate connecting plate is welded to the right side of the rotating cylinder, and the sealing plate connecting plate is connected by bolts. During on-site installation, the sealing plate is removed and the collector is installed inside the rotating sleeve. After the internal parts of the rotating sleeve are installed, install the sealing plate and complete the installation.
4. Installation of bracket
First, weld the shaft to the motor mounting plate, install the main wheel and auxiliary wheel, and then weld and fix the square tube, trapezoidal plate and steel plate according to the drawing size. Weld the bracket to the cantilever according to the drawing size to complete the installation.
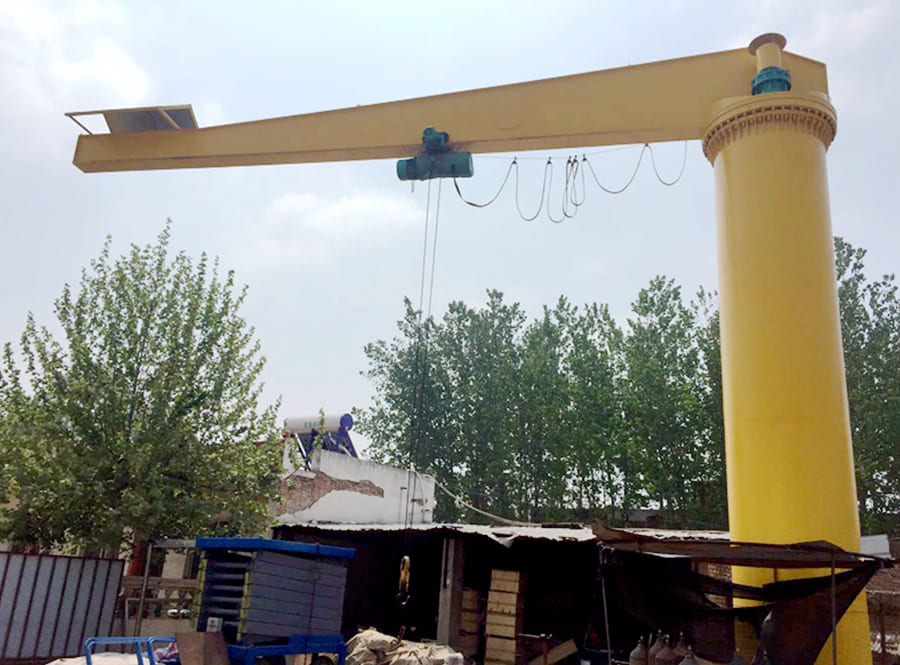
5. On-site installation of the complete top manufacturer 1 ton portable jib crane system
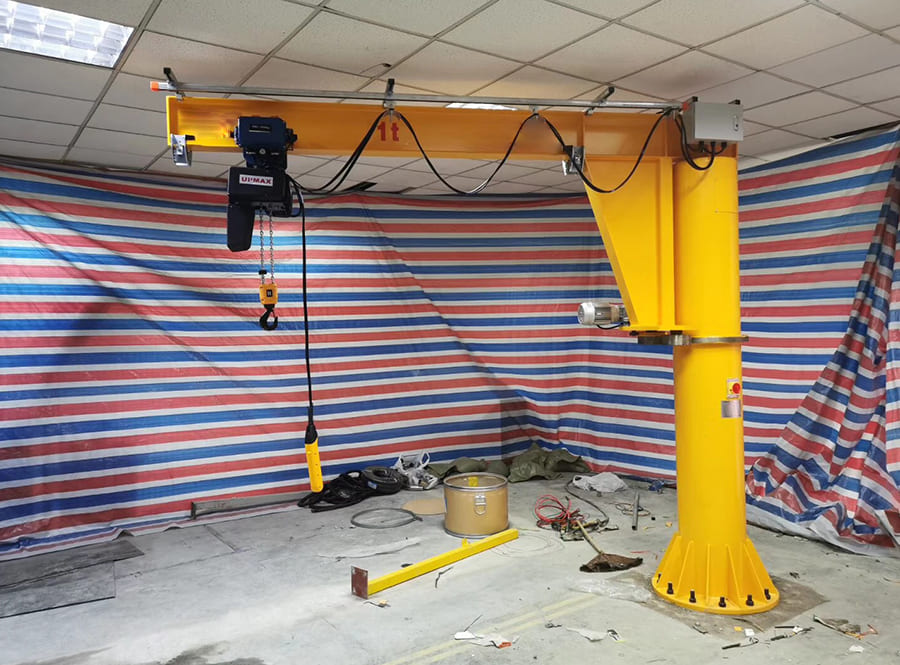
During on-site installation, remove the round nut on the column, fix the cantilever on the column through the rotating shaft and waist ring track, install the round nut on the rotating shaft from the inside of the rotating device, and then install the collector ring and locking polyurethane nut in sequence. The circular cable passes through the inside of the column, through the center hole of the rotating shaft, and is connected to the slip ring. The slip ring bracket and carbon brushes are installed in the rotating device. The ends of the carbon brushes are connected with cables, which are led out from the middle of the rotating device and connected to the electric control cabinet. The cable is connected to the operating motor of the rotating device and the lifting electric hoist through the contactor switch in the electric control cabinet to complete the installation.

